AI Agent Component Spec
AI Agent Component Spec
- Package:
@cometchat/chat-uikit-react—npm install @cometchat/chat-uikit-react - Required setup:
CometChatUIKit.init(UIKitSettings)thenCometChatUIKit.login("UID")— must complete before rendering - SSR: CometChat requires browser APIs — use
'use client'directive or dynamic imports withssr: false - Init code:
new UIKitSettingsBuilder().setAppId("APP_ID").setRegion("REGION").setAuthKey("AUTH_KEY").build() - Framework: Next.js (this page) | React.js | React Router | Astro
- All components: Components Overview
CometChat UI Kit requires browser APIs (
window, WebSocket, document). For Next.js, render components only on the client side using 'use client' directive or dynamic imports with ssr: false.Prerequisites
Create a CometChat application via the CometChat Dashboard. The dashboard provides user management, group chat, voice/video calling, and real-time notifications. Required credentials from the dashboard:- App ID
- Auth Key
- Region
Getting Started
Initialize CometChat UI Kit
Call
CometChatUIKit.init() at app startup before rendering any components or calling SDK methods.Auth Key is for development/POC only. In production, generate Auth Tokens server-side via the REST API. See Auth Token.
- TypeScript
- JavaScript
Replace
APP_ID, AUTH_KEY, and REGION with credentials from the CometChat Dashboard.User Login
Authentication requires a UID. Create users on the CometChat Dashboard, via the SDK, or API.Pre-generated test users:
cometchat-uid-1 through cometchat-uid-5.The login method returns a CometChat.User object.- TypeScript
- JavaScript
Choose a Chat Experience
Three layout options: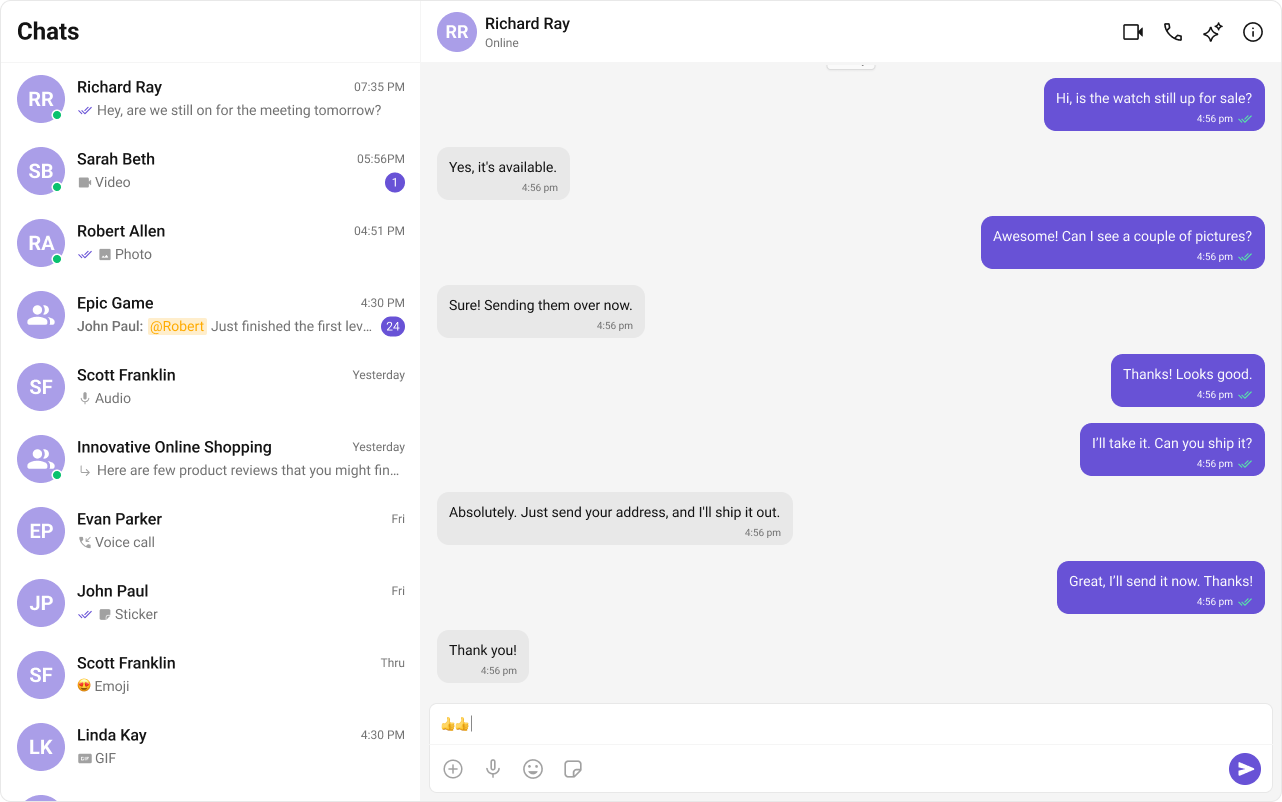
 Integrate Conversation List + Message
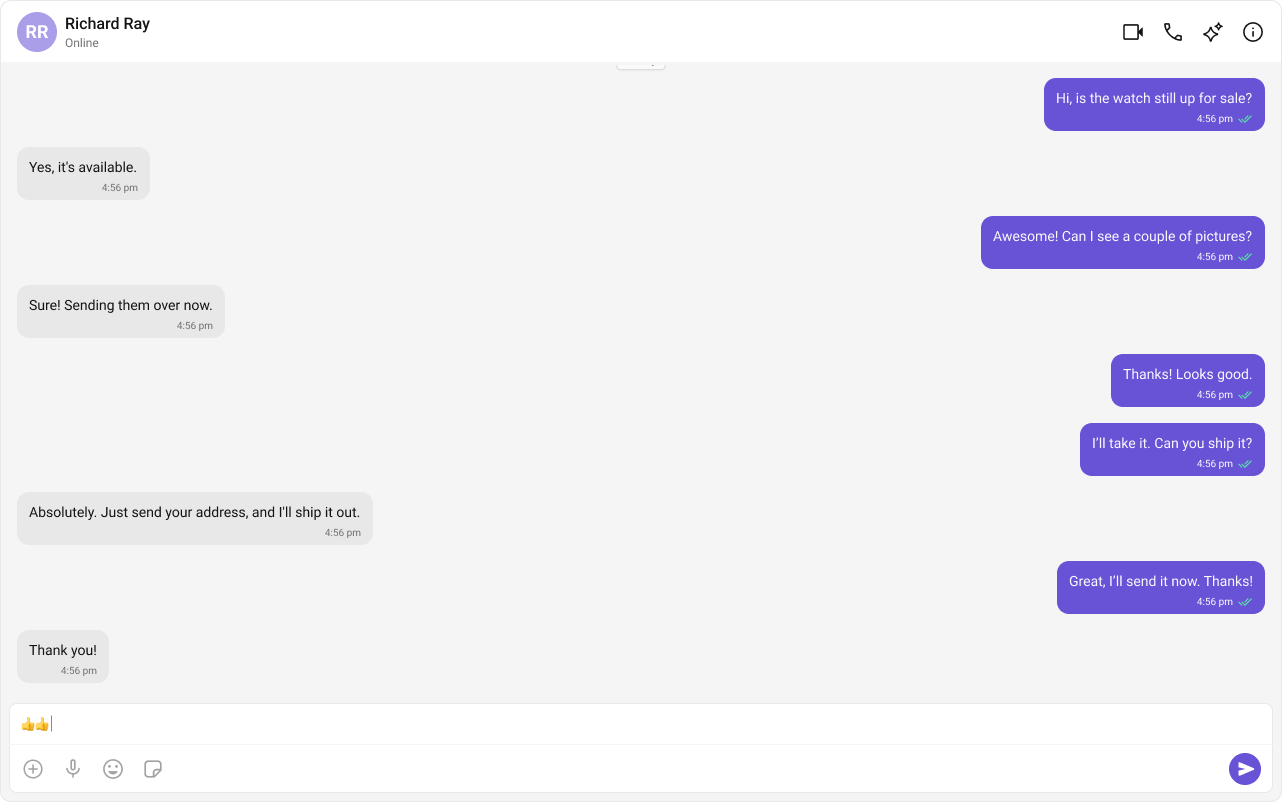

Conversation List + Message View
Two-panel layout: conversation list on the left, active chat on the right. Supports 1:1 and group conversations with real-time updates.One-to-One/Group Chat
Single chat window without a conversation list. Supports both 1:1 and group messaging.Tab-Based Chat Experience
Tab navigation between Chat, Call Logs, Users, and Settings. Works across desktop and mobile.